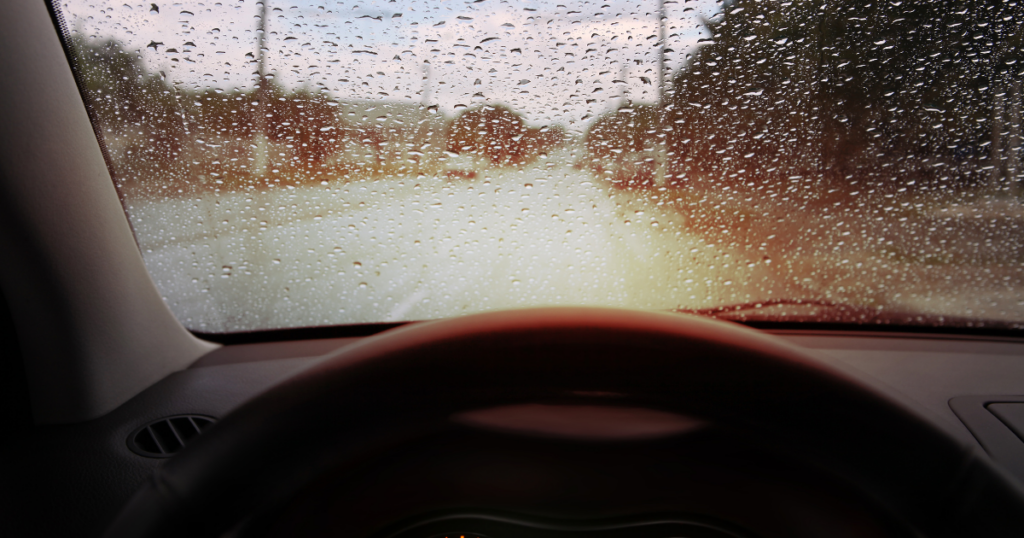
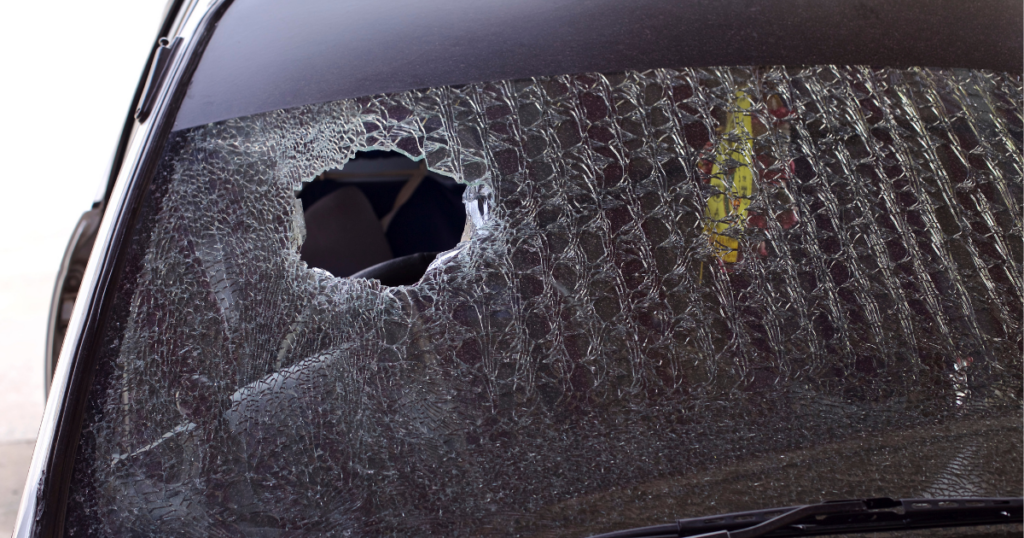
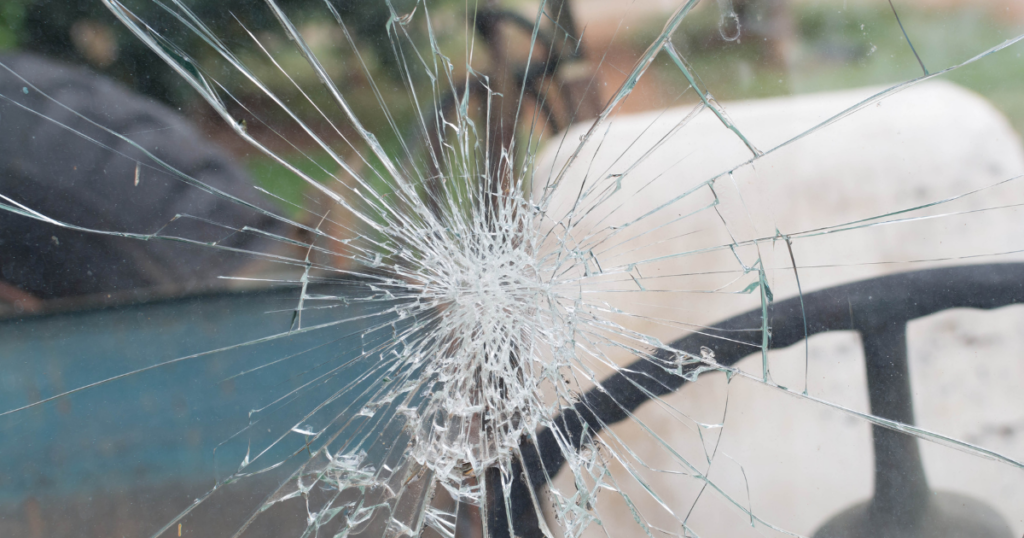
Your car’s windshield plays a crucial role in providing structural integrity, protecting you from debris, and maintaining clear visibility while on the road. Unfortunately, there are times when circumstances demand an auto glass windshield replacement, be it due to a rock chip, crack, or other damage. While the process of replacing a windshield may seem straightforward, it is essential to thoroughly inspect the newly installed windshield to ensure your safety and the longevity of the replacement.
In this article, we will guide you through the key areas to check after a windshield replacement. By conducting a comprehensive examination, you can detect potential issues early on and address them promptly, ensuring a safe and secure driving experience. Whether you’ve recently had your windshield replaced or are planning to do so in the near future, these post-replacement checks are invaluable in safeguarding your well-being and maintaining the integrity of your vehicle.
Inspect the Corners & Edges of the Windshield
After having a new windshield installed, it is essential to conduct a thorough inspection of the corners and edges. This step is crucial for ensuring the safety and longevity of your windshield.
Begin by carefully examining the corners of the windshield to verify their alignment with the surrounding structure. They should seamlessly blend with the rest of the vehicle, exhibiting a uniform and flush fit. Look out for any gaps, unevenness, or misalignment that could indicate an inaccurate installation.
Moving on to the edges, closely inspect them to ensure they are securely attached and free from any signs of looseness. Loose edges can be a red flag, as they may compromise the integrity of the windshield and increase the risk of damage or detachment.
Check the Glass Thickness & Tint
Another key aspect to check is the glass thickness and tint, which play a significant role in both functionality and visual clarity.
A properly installed windshield should have the appropriate thickness to maintain structural integrity and withstand potential impacts. Thicker glass provides better resistance against external forces, reducing the risk of cracks or shattering. During the inspection, ensure that the new glass meets industry standards and adheres to the manufacturer’s recommended thickness for your specific vehicle model.
Moving on to tint, it is important to consider the level of tinting applied to your windshield. Tinted glass offers various benefits, such as reducing glare and blocking harmful UV rays. However, it is crucial to strike a balance between tint darkness and visibility, especially during nighttime driving or in low-light conditions. Excessive tinting can impair your ability to see clearly, compromising safety on the road. Familiarize yourself with the local regulations regarding windshield tint levels and ensure that the replacement windshield complies with these guidelines.
Look for Bubbles and Irregularities
It is vital to perform a meticulous inspection to ensure that the new windshield is free from bubbles and irregularities. Detecting these issues early on is crucial for the longevity, functionality, and visual clarity of your windshield.
One of the first things to scrutinize is the presence of bubbles between the glass and the adhesive. Bubbles can indicate improper installation or inadequate adhesion, which can compromise the integrity of the windshield. Carefully examine the entire surface, paying close attention to the corners and edges where bubbles are more likely to form. If you notice any bubbles, it is essential to address them promptly by consulting with the installer to rectify the issue and prevent potential future problems.
In addition to bubbles, keep an eye out for any irregularities on the glass surface. These irregularities may include distortions, waves, or ripples that can affect visibility and the overall driving experience. While minor imperfections are normal, excessive or noticeable irregularities should be addressed to ensure optimal visual clarity. Take your time to inspect the windshield from various angles and under different lighting conditions to identify any irregularities that may be present.
Test the Windshield Adhesive
After a windshield replacement, it’s important to perform a final inspection to ensure the effectiveness and durability of the windshield adhesive. The quality of the adhesive plays a crucial role in maintaining the structural integrity of the windshield, preventing leaks, and ensuring your safety on the road.
To test the windshield adhesive, begin by gently tapping along the edges of the windshield. Pay attention to any unusual sounds or vibrations, as these may indicate a weak or insufficient bond. A properly installed windshield should feel solid and securely attached to the vehicle’s frame, without any noticeable movement or looseness.
By thoroughly testing the windshield adhesive, you can ensure that it has been properly applied and provides the necessary strength and security. This final step is crucial in guaranteeing the long-term performance and safety of your new windshield.
Back to top: What to Check After a Windshield Replacement